You might remember my last project, an attempt to write a program that assists authors when writing a book. It worked. It did the thing. But it wasn’t perfect, and I wanted a complete solution, one that includes a word processor, so I don’t need something like Scrivener to make it work. For some reason, its OpenRouter implementation didn’t work properly, either, so I must have had the wrong version uploaded, and fixing this would have been irritating. So I thought: Why not create one, now that o3-mini is a thing. And here it is: Writingway. And this time, use Git, too.
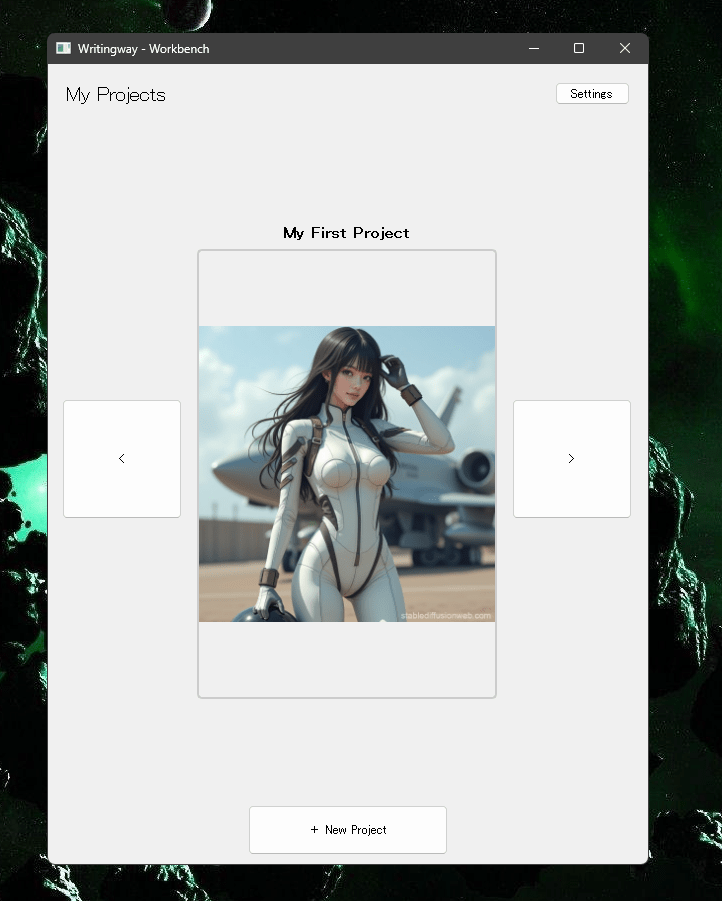
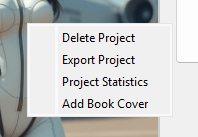
Let me introduce you to how this tool works. Above, you can see the Workbench, where all your books live. You can scroll through the carousel with the left/right arrows, or you can right-click a project:
Left-click the book, and you’ll land on the Project screen:
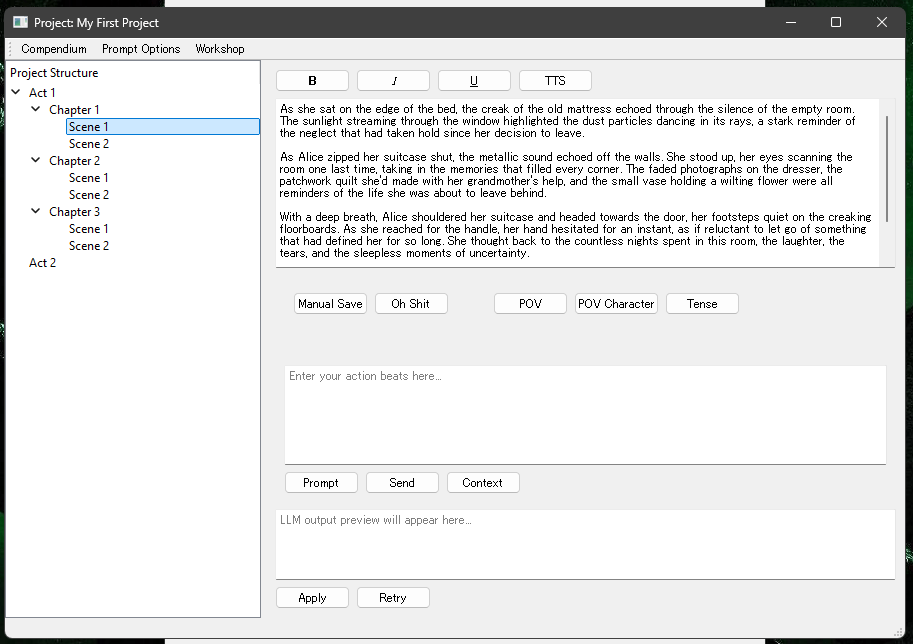
Ignore the content there, that’s artifacts from when I created the thing. What you can see however is the interface with which you’ll work: a very bare bones word processor with LLM-integration, save and load, your project structure in tree view, your “action beats” input field, an “LLM output preview” field and some buttons. Ah, and a TTS button, if you’re like me and need to hear a text to see if it “works”. You can also see buttons for Compendium, Project Options and Workshop on top, and we’ll go into what everything does now, step-by-step.
First, let’s return to the Workbench. If you click the “+ New Project” button on the bottom, you can create a new book:
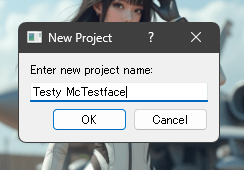
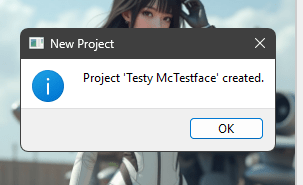
Now hit OK:
You can navigate to the new project with the carousel buttons. Do it. Now you see your newly created project and can either left-click to open it, or right-click for options. But before we touch the new project, let’s take a look at the Settings button on the top right of the window:

A new window opens.
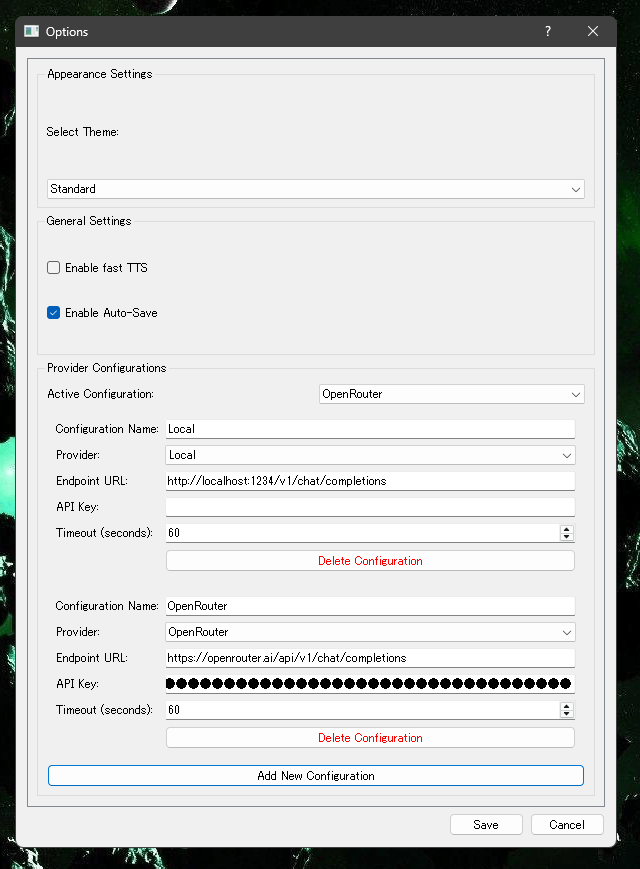
Straightforward:
- The theme selector has 3 options: normal, night mode and matrix. Pick whatever you like. Right now, it’s on default.
- Enable fast TTS sets your TTS to a faster speed. For those of you who also watch Youtube on double speed 😉
- Enable Auto-Save enables auto-save. This lets the program save every 5 minutes automatically. Might be nice to have enabled, but personally, I save manually.
- Below are the LLM settings, where you can enter your LLM endpoint provider’s or your local model’s info. This will be different for each of you, and it might be necessary to check your provider’s URL, get an API key etc.
I can’t give you much in the way of support there. As you can see, I’m using a local model (running on LMStudio) and OpenRouter. But you have total freedom. Connect to OpenAI, Anthropic, TogetherAI, Mistral, whatever you like. Then, save, and you’ll see a little confirmation:

Okay, left-click it, and I’ll show you what everything is about. I went back to the project I used while testing, because it has some content now, which might be nice to have.
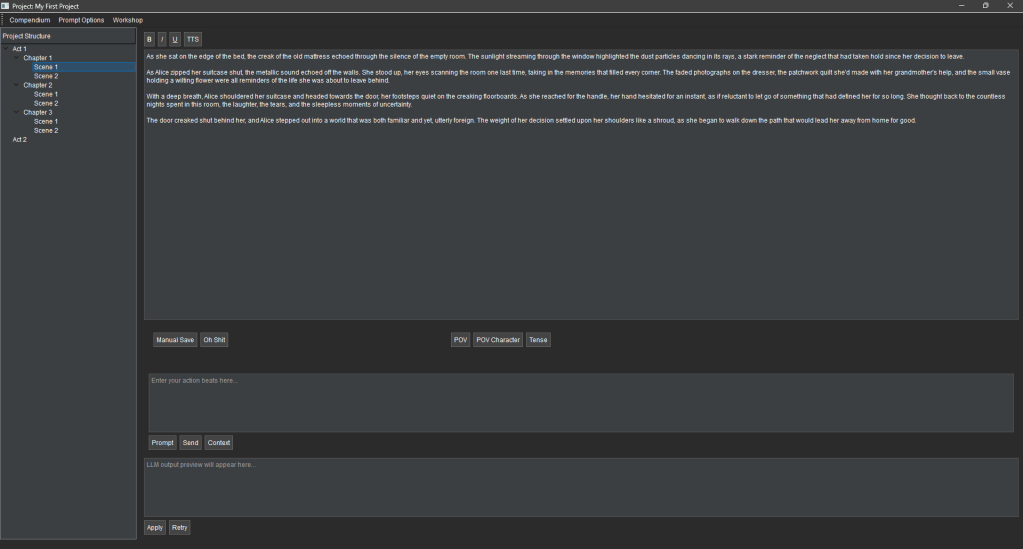
So, back to the project window, where you’ll do most of your work. You can see the acts, chapters, scenes on the left side and add/remove/move them with right-click.

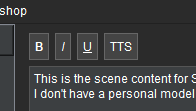
The big topmost window is your scene. It has bold, italic, underlined as formatting options, and a TTS button to listen. Personally, I don’t need more, and wouldn’t know what else to implement, but if you give me feedback, I might look into it.
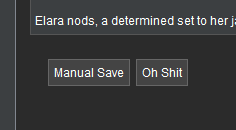
Below the scene, you have save and load.
And in the centre, there are buttons to set the POV, POV Character and Tense you want the model to use.
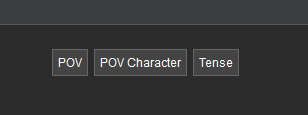
POV determines the perspective to write from. First person, omniscient, third person limited or custom.

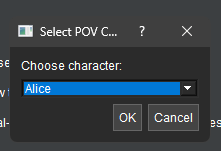
The POV Character needs to exist first, in the Compendium. We’ll get there later, just know that that’s where it pulls the info from.
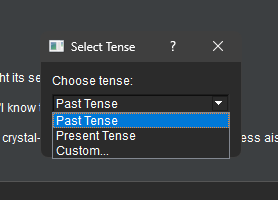
You have selections for Tense, too.
Below that is the “Action Beats” input field, again with its own buttons. We don’t have AI writing complete books, chapters, or even scenes. As of February 2025, AI isn’t there yet. Instead, we give it directions like this:

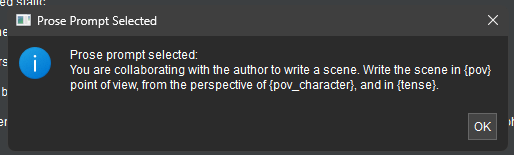
Now you select a prompt to use

Clicking the Context button then opens up a little tab to the right, where you can select exactly which scenes and compendium entries should sit in the prompt. This lets you configure your prompt very precisely. You can have only the relevant scenes and entries in there, and it doesn’t matter whether that’s a scene from 3 chapters back, or from a different act altogether. You can also pick Compendium entries manually.

You can now send the prompt, and the LLM Preview window will show you what the LLM writes. Ignore what the output says, I didn’t even make an effort to have it make sense for this. It’s just so you can see what everything looks like and what it does. Here’s the preview window with some content:

You can now Apply it to the current scene (it appends it), or hit Retry for another shot.
Okay, let’s take a look at some other features. What you see below is the scene window (in default theme again) with some text selected, which I then right-clicked. A menu opens:
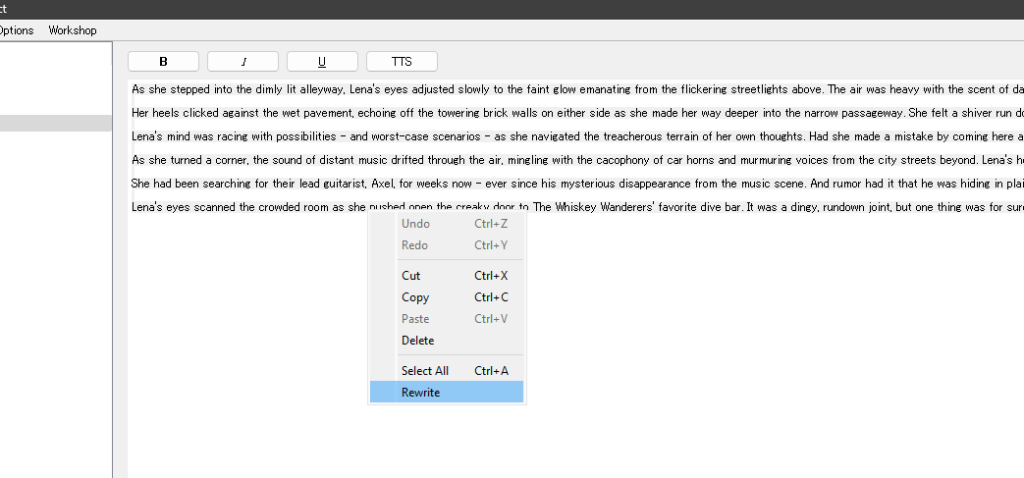
It has some standard Windows options, and a Rewrite function. Let’s click “Rewrite”:

This (resizable) window lets you rewrite the selected text. Everything here should be self-explanatory.

You can also summarise scenes and acts, so when you write prose and select a scene or act as context (and not specific scenes), it will use those summaries instead. That makes it a bit friendlier for your model’s context window.

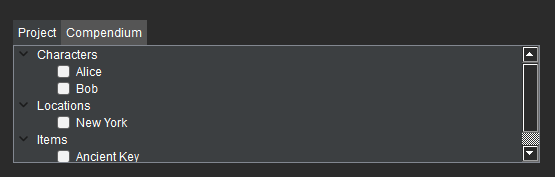
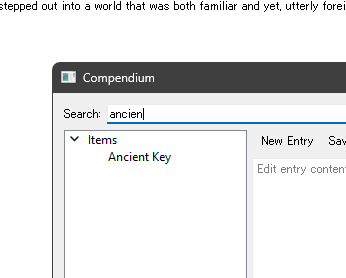
Now let’s take a look at the Compendium. This is basically your worldbuilding info in a database, in an easy to edit format. What you write here is saved in a JSON file, and whatever you select as context for your prompt in the scene or workshop window will be added to the context.
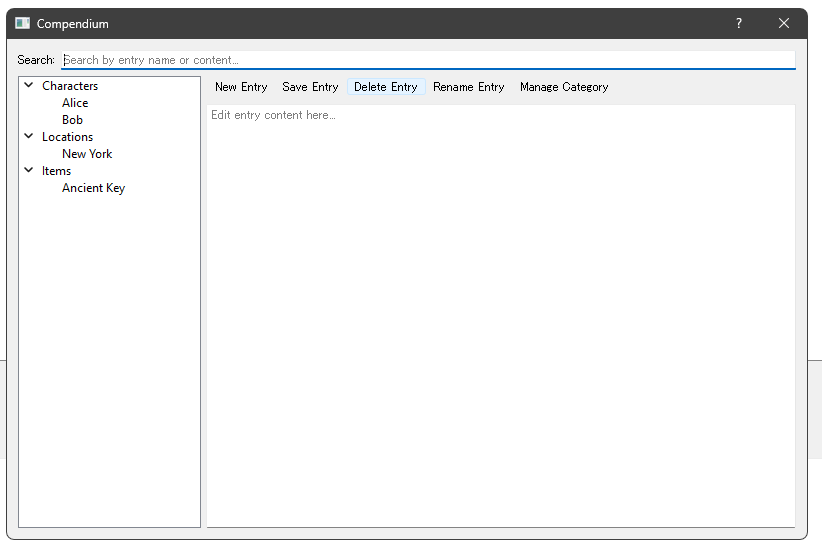
You can use the buttons or right-click here to add, edit and so on. The lists are collapsible, so you don’t need to scroll through 200 characters to find a location or an item. You can also search.
Let’s take a look at the Prompt Options.
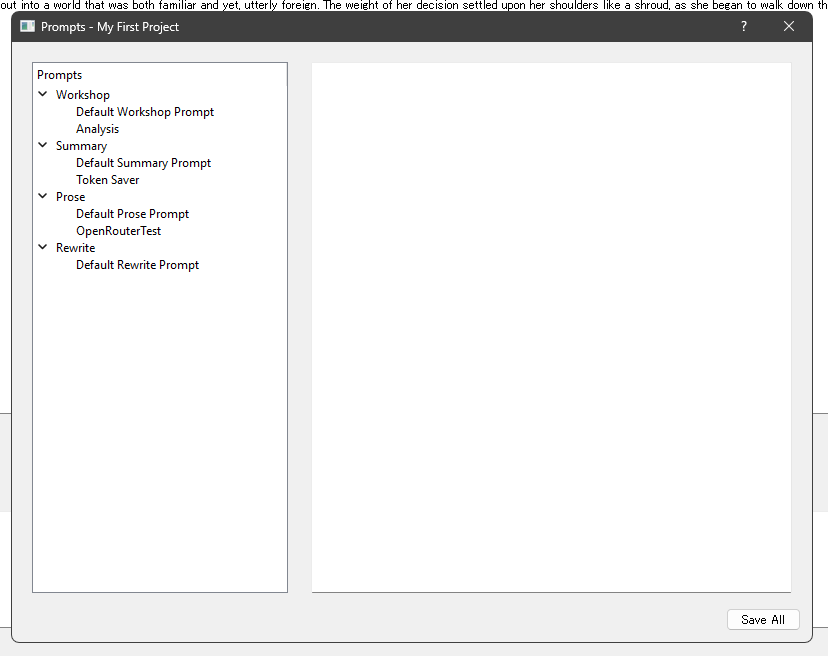
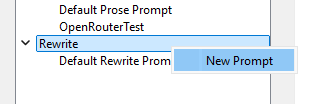
What this is, is your database of prompts used for each of the 4 main features: Workshop is a chat we’ll look at after this. Summary summarises chapters or acts. Prose generates the Action Beats, and Rewrite runs the rewriting we saw above. Right-click a category to create a new prompt:

You can now click on the prompt and edit it. This way you can later just select some text, right-click it, rewrite it, and move on. No need to worry about the exact prompt, model etc while your head is at the prose level.
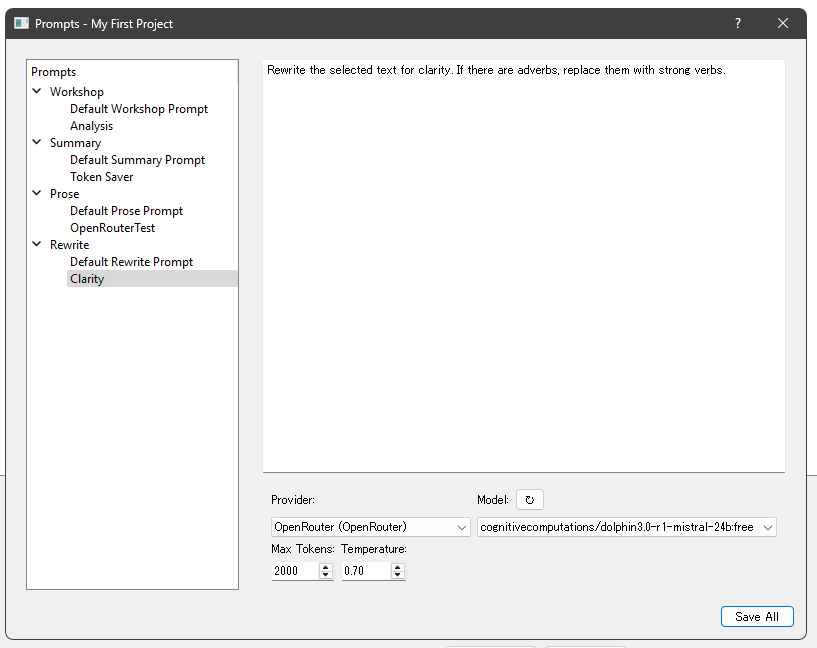
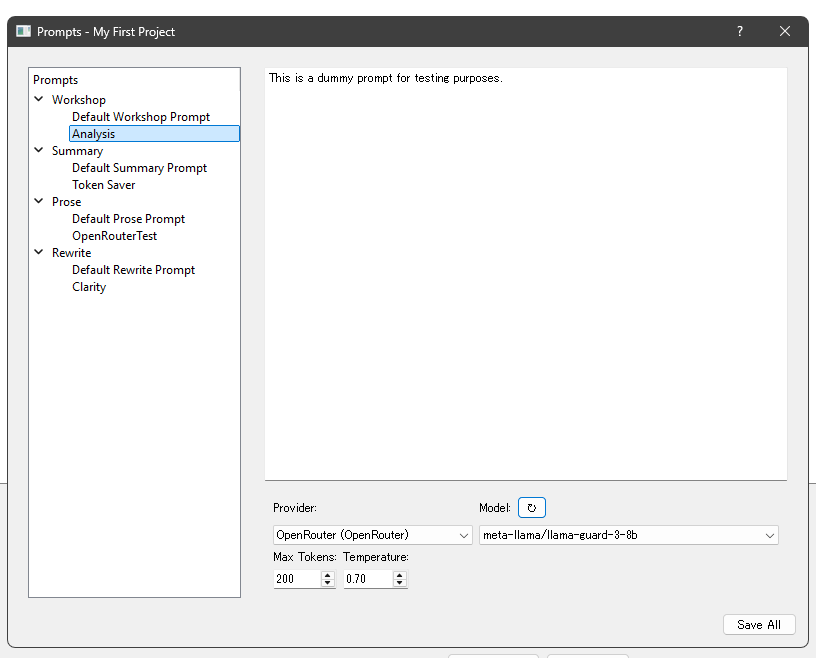
You can see the model settings down there. They let you select exactly the LLM you want to use for this prompt. They’re saved for every prompt separately, so for prose, you could have one that looks like this:
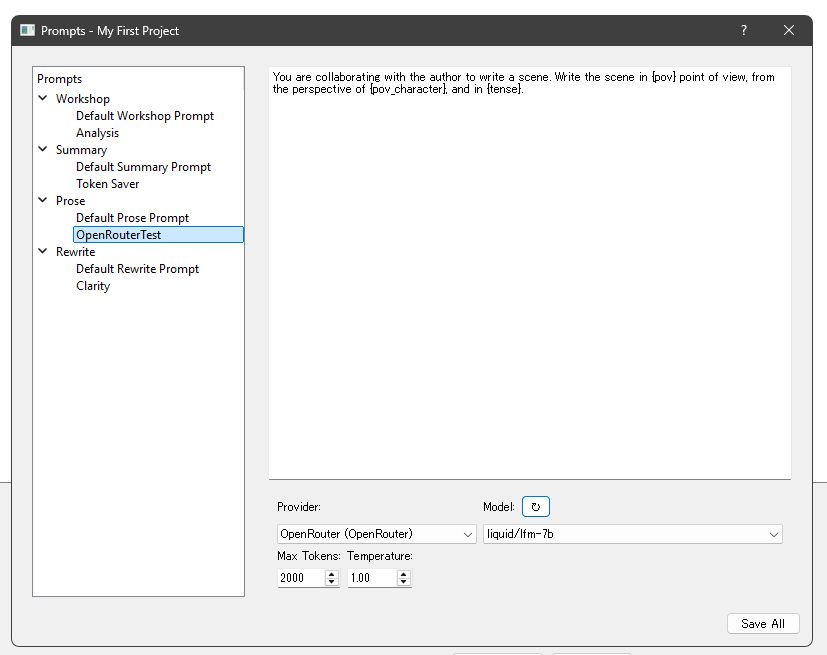
Whereas you have yet something else for your workshop.
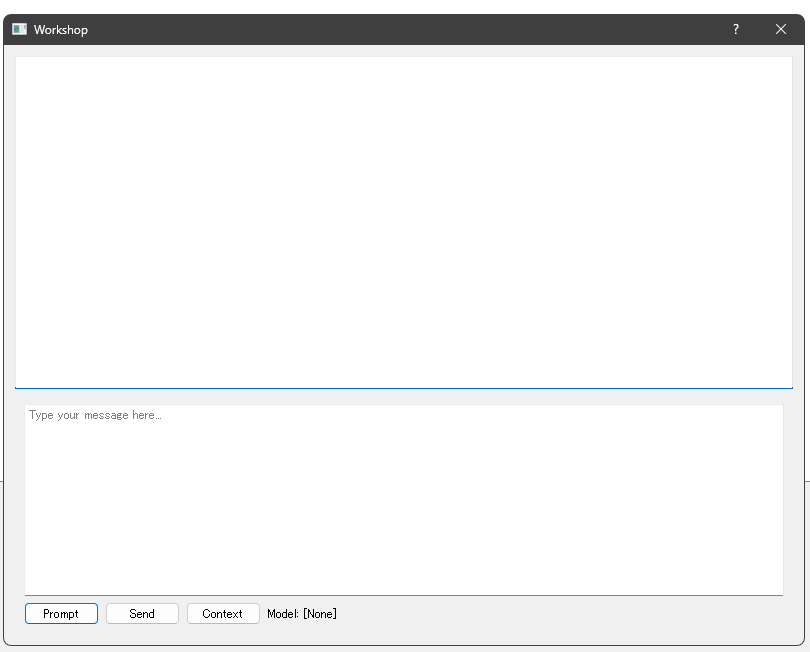
Let’s get to the last feature, the Workshop. This is a chat with an LLM of your choice about whatever you want. You can set up prompts for different purposes, such as “Let’s brainstorm this scene” or “You’ll assume the role of Alice. We’ll talk through the scene, and what she would have done differently”, or whatever else comes to mind. It looks very unassuming when you open it.
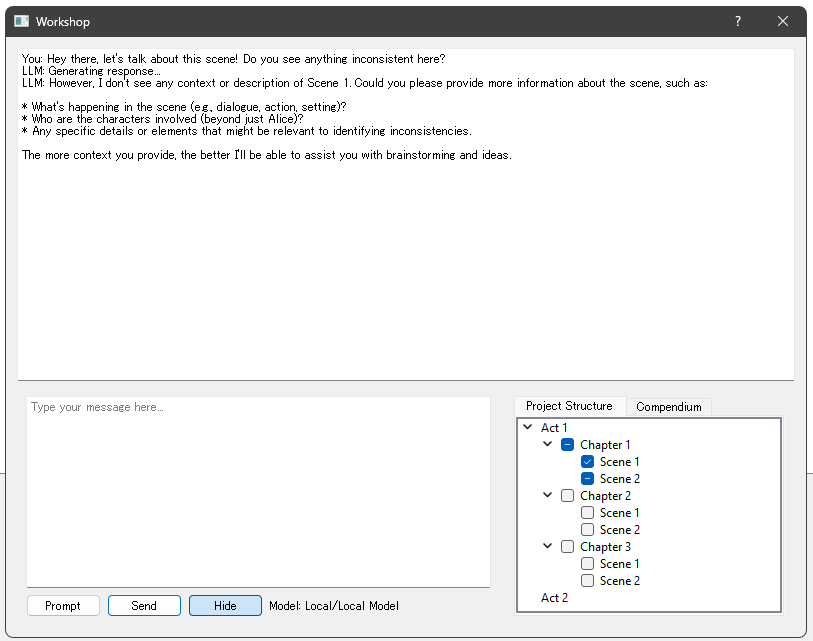
You are familiar with the Prompt, Send, Context buttons from the Action Beats window. The buttons function the same. Prompt selects the prompt you want to use, Context opens the project/compendium panel, and Send sends it to the LLM.
And that’s it. This whole program is free open source (with the MIT license), and you can download it here: Click Me.
I’m always happy to accept help, too, so if you think you can fix something, feel free to either fork and improve it yourself, or to get in touch with me, so I can update it in this code base.
I’m not a coder, so this has been a trippy ride for me over 3 weekends, with OpenAI’s o3-mini doing all the coding work (I tried Claude’s Sonnet, too, but it shut down quickly after reaching its rate limits).
If you have anything you would like to let me know, please add a comment here or on GitHub. Any bug reports are much appreciated, and any help would be wonderful.
Good writing!
